
There is no name more synonymous with delightful, reliable, and utterly delicious British baking than Mary Berry. As the nation’s favourite baker and author of over 70 books, her legacy, from her Cordon Bleu training in Paris to her reign as the much-loved judge on The Great British Bake Off, is built on recipes that simply work. Her All-in-One Coffee Cake is a perfect example of this genius: a wonderfully moist and flavourful cake that brings comfort and elegance to any table. This method, where all ingredients are combined at once, revolutionised home baking, making it accessible and foolproof. In this guide, we’ll explore the history of this classic, walk you through Mary’s perfect recipe, and offer tips for your own baking success.
A Slice of History: The Tale of Coffee Cake
The term “coffee cake” can be traced back to 17th-century Europe, where the rise of coffee houses in England and the continent created a demand for a sweet bite to enjoy with the newly popular beverage. However, these early versions were not necessarily coffee-flavoured; they were simply cakes eaten with coffee.
The evolution of the cake itself to include coffee as a primary flavour is a more modern development. According to food historians like [authority source, e.g., referenced in books like “The Oxford Companion to Food”], the use of coffee in baking became more widespread as instant coffee granules became a common household item in the mid-20th century. This allowed for an intense, yet easily incorporated, coffee flavour without the hassle of brewing.
Mary Berry’s approach stays true to the cake’s purpose: to be a wonderfully simple, sociable treat. Her “all-in-one” method is her personal, brilliant touch—a testament to her decades of experience teaching home cooks. It respects the tradition of a classic flavour combination while embracing modern convenience, ensuring a light, moist crumb every time. It is this flawless execution that has cemented her recipe as a definitive version.
Notices on Ingredients & Equipment
Using quality ingredients is a hallmark of Mary Berry’s philosophy and is key to this cake’s success.
Ingredients List:
- 225g (8 oz) Self-Raising Flour: Ensure it is fresh for a good rise. If you only have plain flour, add 2 teaspoons of baking powder and sift it well.
- 225g (8 oz) Very Soft Unsalted Butter: Softness is crucial for the all-in-one method. Take it out of the fridge hours ahead.
- 225g (8 oz) Caster Sugar: Finer than granulated, it dissolves more easily into the batter.
- 4 Large Free-Range Eggs: Bring them to room temperature for better incorporation.
- 2 tbsp Instant Coffee Granules: Use a good quality brand for a richer, less bitter flavour.
- 1 tbsp Boiling Water: For dissolving the coffee.
- For the Icing:
- 50g (2 oz) Unsalted Butter, softened
- 175g (6 oz) Icing Sugar, sifted
- 1 tsp Instant Coffee Granutes dissolved in 1 tbsp Boiling Water
Essential Equipment:
- Two 20cm (8 inch) round sandwich tins
- Baking parchment paper
- Electric hand whisk or a stand mixer (makes the all-in-one method effortless)
- Mixing bowls
- Wire cooling rack
- Spatula
- Small bowls for dissolving coffee
Recipe Instructions
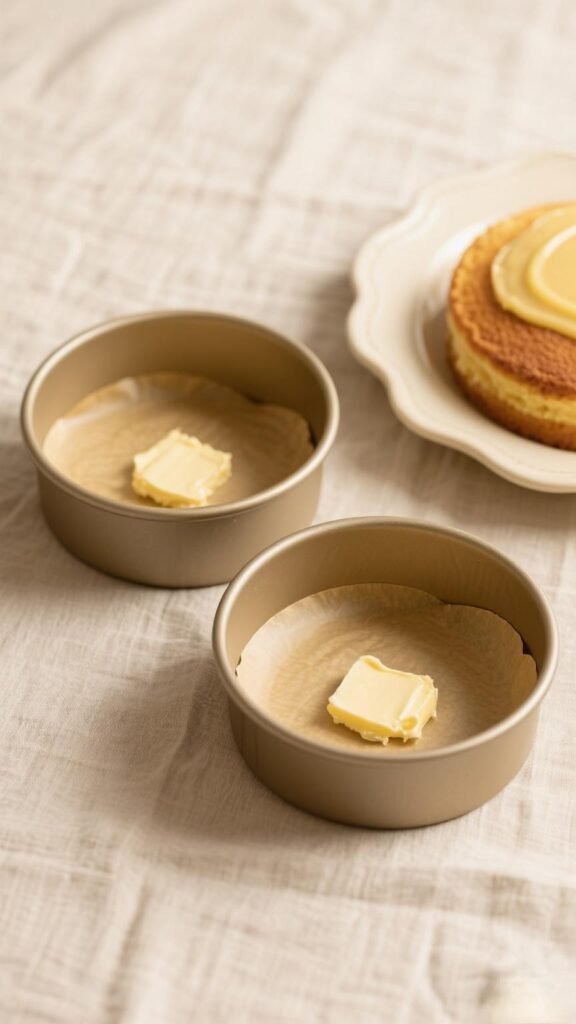
Step 1: Prepare Your Tins and Oven
Preheat your oven to 180°C/160°C Fan/350°F/Gas Mark 4. Grease the two sandwich tins thoroughly with a little extra butter, then line the bases with a circle of baking parchment. This guarantees your cakes will turn out cleanly without any sticking.
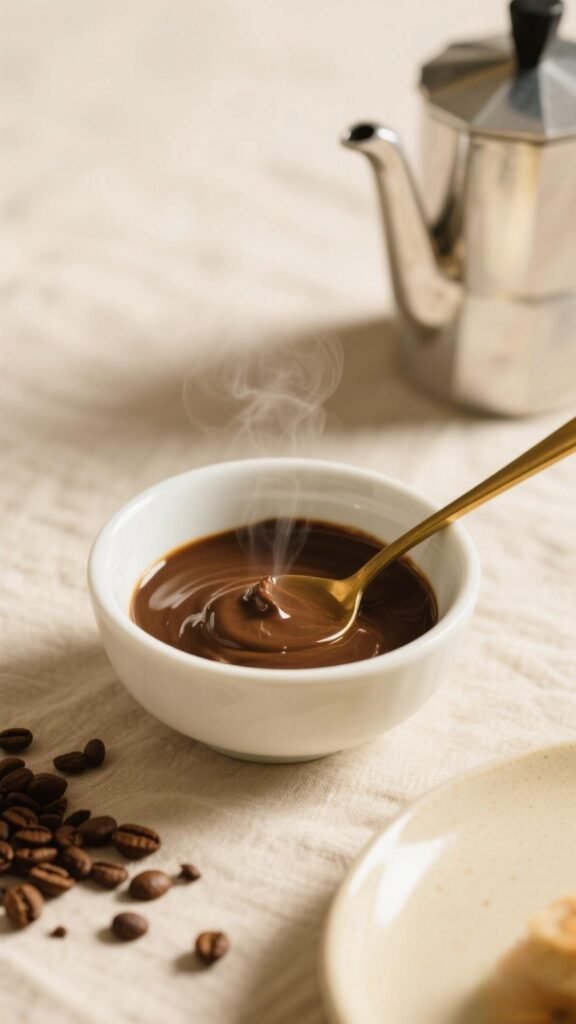
Step 2: Make the Coffee Paste
In a small cup or bowl, measure out the 2 tablespoons of instant coffee granules. Add the 1 tablespoon of boiling water and stir vigorously until you have a smooth, dark, and aromatic paste. Set this aside to cool slightly while you prepare the main batter.
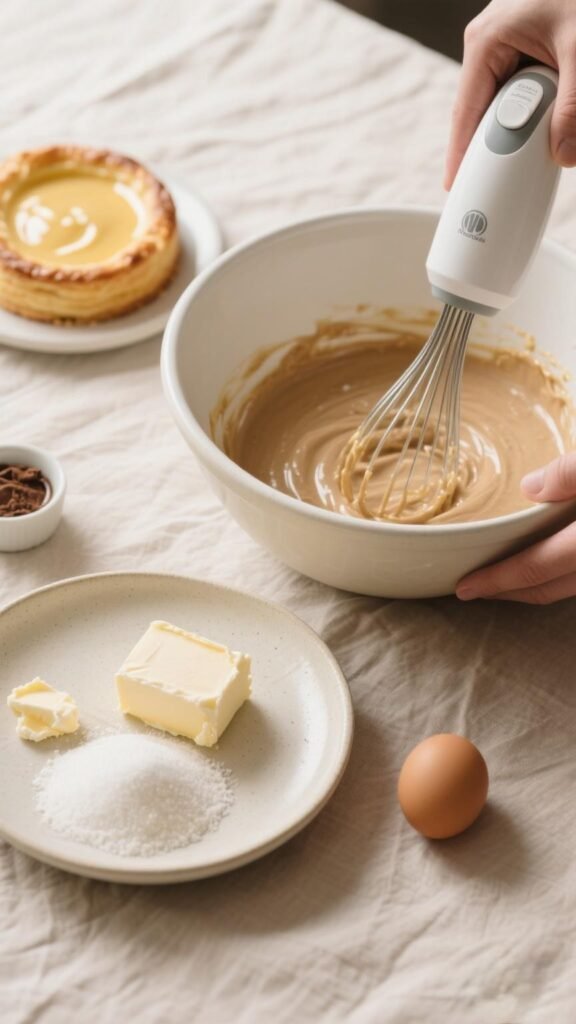
Step 3: The All-In-One Mix
This is the magic step. Place the soft butter, caster sugar, self-raising flour, eggs, and the cooled coffee paste into a large mixing bowl. Using an electric hand whisk, beat the mixture for just one to two minutes until everything is perfectly combined and you have a smooth, consistent, light brown batter. Do not overmix.
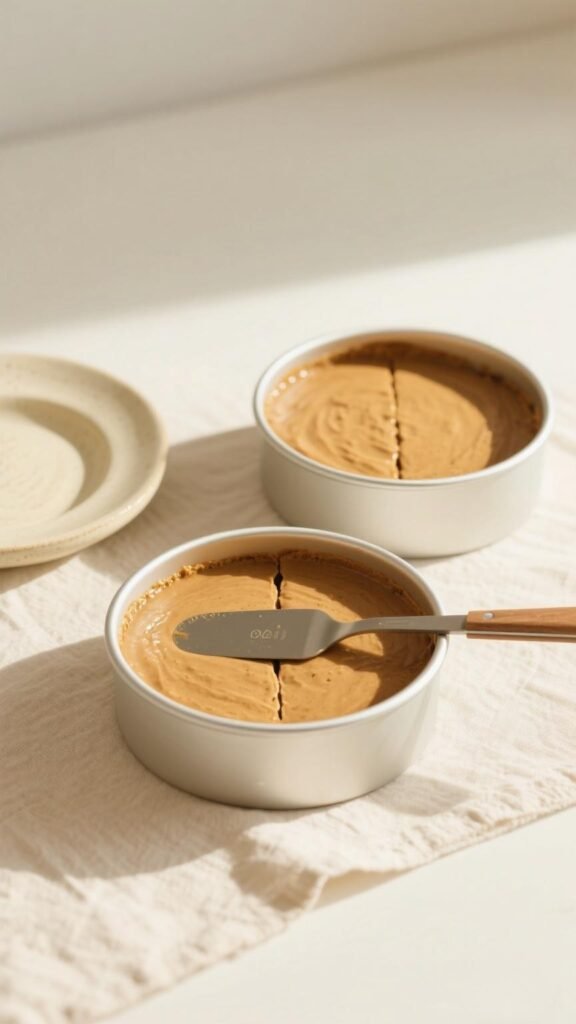
Step 4: Divide and Bake
After this, Divide the batter equally between the two prepared tins. Now Use a spatula to spread it evenly to the edges. Place the tins on the same shelf in the centre of the preheated oven and bake for 25-30 minutes. The cakes are done when they are well-risen, golden-brown, and spring back lightly when pressed in the centre. After this, A skewer inserted into the middle should come out clean.
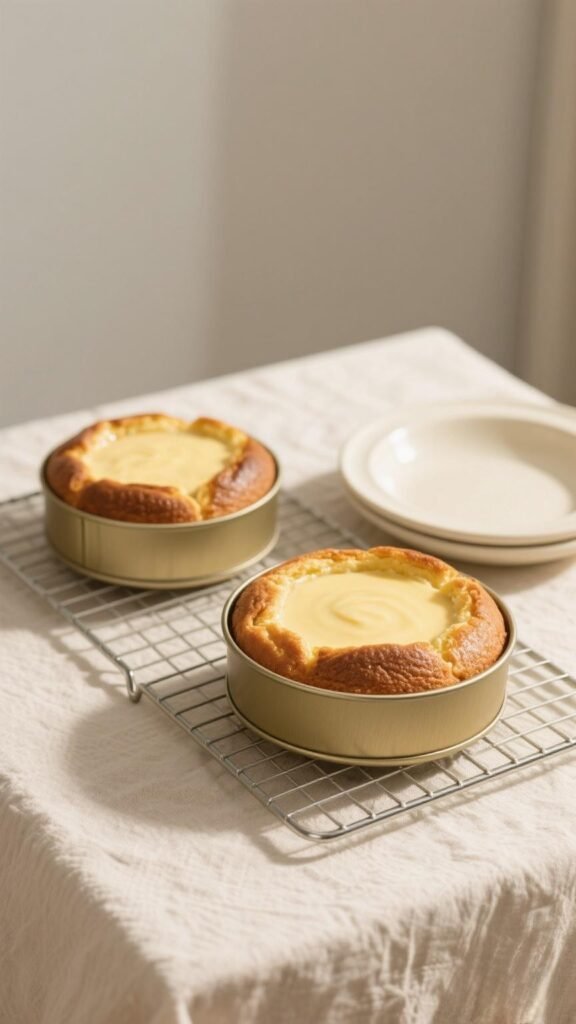
Step 5: Cool Completely
Remove the tins from the oven. Let the cakes cool in the tins for about 5 minutes, then run a knife around the edge to loosen them. Turn them out onto a wire cooling rack, peel off the parchment paper, and leave them to cool completely before icing. A warm cake will melt the icing.
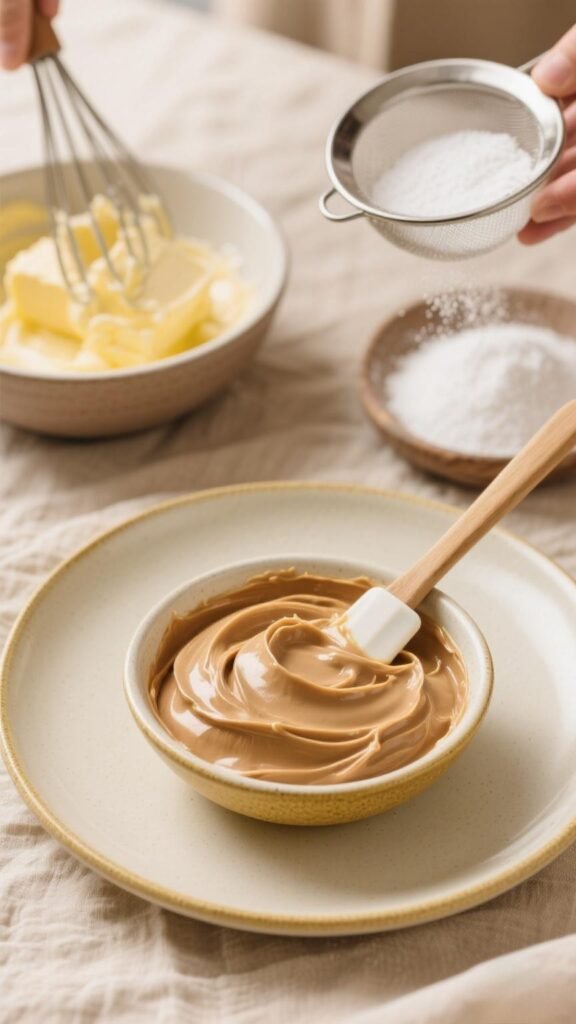
Step 6: Make the Coffee Icing
To make the buttercream, dissolve the 1 tsp of coffee granules in 1 tbsp of boiling water to make another paste. Let it cool. In a bowl, beat the softened butter until creamy. Gradually sift and beat in the icing sugar until smooth and pale. Finally, beat in the cooled coffee paste until the icing is uniform in colour and flavour.
Step 7: Assemble the Cake
After this, Place one completely cooled cake layer on a serving plate. Spread the entire batch of coffee buttercream evenly over the top. Gently place the second cake layer on top, pressing down lightly. For a classic finish, dust the very top with a light sprinkling of sifted icing sugar.
Flavor Profile & Nutritional Information
This cake is a masterclass in balance. The deep, robust, and slightly bitter notes of the coffee cut beautifully through the inherent sweetness of the sponge and the rich buttercream. The crumb is exceptionally light and moist, making each bite incredibly more satisfying.
Nutritional Breakdown (Per slice, based on 12 servings):
Source: Based on data calculated using MyFitnessPal ingredient tracker.
- Calories: ~415 kcal
- Protein: 4.5g
- Carbohydrates: 48g
- (of which Sugars): 35g
- Fat: 23g
- (of which Saturated Fat): 14g
- Fiber: 0.5g
- Sodium: 80mg
Tips for a Perfect Coffee Cake Every Time
- Why is my cake dense? The most common culprit is overmixing the batter after the flour is added. Mix only until you see no more streaks of flour.
- My cake sunk in the middle. This could be due to the oven door being opened too early, underbaking, or too much raising agent (check your flour’s freshness).
- Enhancing Flavour: For a grown-up twist, add 1-2 tablespoons of coffee liqueur to the buttercream along with the coffee paste.
- Texture Variation: Fold 50g of chopped walnuts into the batter for a lovely crunch.
- For a Square Cake: This mixture can be baked in a 20cm/8″ square tin for about 35-40 minutes.
Vegan Adaptation
You can easily create a delicious vegan version of this classic.
Ingredients:
- 225g self-raising flour (check it’s vegan-friendly)
- 225g dairy-free block butter (e.g., Naturli Vegan Block or Stork Baking Block)
- 225g caster sugar
- 4 tbsp aquafaba (the liquid from a can of chickpeas) OR a commercial vegan egg replacer for 4 eggs
- 2 tbsp instant coffee + 1 tbsp boiling water
- For Icing: 50g vegan butter, 175g icing sugar, 1 tsp coffee + 1 tbsp water.
Instructions:
Follow the main recipe exactly. The all-in-one method works perfectly. Ensure all ingredients are at room temperature. Bake for the same amount of time, checking for springiness and a clean skewer.
Recipe Variations & Serving Suggestions
- Coffee & Walnut Cake: Add 50g chopped walnuts to the batter and decorate the top with whole walnut halves.
- Mocha Cake: Replace 25g of the flour with high-quality cocoa powder for a chocolate-coffee fusion.
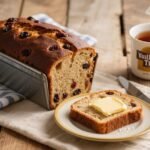
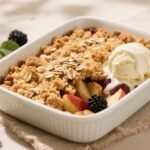
- Serving: This cake is perfect with a cup of tea or coffee in the afternoon. For a dessert, serve warm with a dollop of freshly whipped cream or a scoop of vanilla ice cream.
Storage & Reheating Instructions
- Storage: Keep the cake in an airtight container at room temperature. It will stay fresh for up to approximately 3 days.
- Freezing: The un-iced sponge layers freeze excellently. Wrap them individually in cling film and freeze for up to 3 months. Thaw at room temperature before icing.
- Reheating: Not recommended once iced. A slice of plain sponge can be warmed gently in the microwave for approximately 10 seconds for a lovely treat.
Frequently Asked Questions (FAQ)
Q: Can I use fresh espresso instead of instant coffee?
A: You can, but the result may be less intense. Instant coffee granules provide a stronger, more concentrated flavour that holds up well during baking. If using espresso, use a very strong shot and reduce another liquid slightly, but the texture may be affected.
Q: My buttercream is too runny. How can I fix it?
A: This usually means the butter was too soft or the coffee wasn’t cooled. Pop the bowl into the fridge for 15-20 minutes to firm up, then re-whip.
Q: Why is my cake dry?
A: The most likely cause is overbaking. Check your oven temperature with an independent thermometer and start checking the cake at the 20-minute mark.
Conclusion & Call to Action
Mary Berry’s All-in-One Coffee Cake is more than just a recipe; it’s a dependable, delicious piece of baking heritage. Its simple method and spectacular results are why it remains a favourite across generations. We hope you feel inspired to bake this classic.
We’d love to see your results! Share a photo of your creation and tell us how it turned out. If you enjoyed this recipe, you might also like our take on her classic [Victoria Sponge Cake] or [Lemon Drizzle Cake].
Additional Resources
- Explore more of Mary Berry’s wonderful recipes in her own words on her official website: Mary Berry’s Cookbooks
- For more detailed culinary guides and recipes, visit our friends at: Culinary Hill UK