Mary berry sunday lunch chicken pie: Golden & Creamy
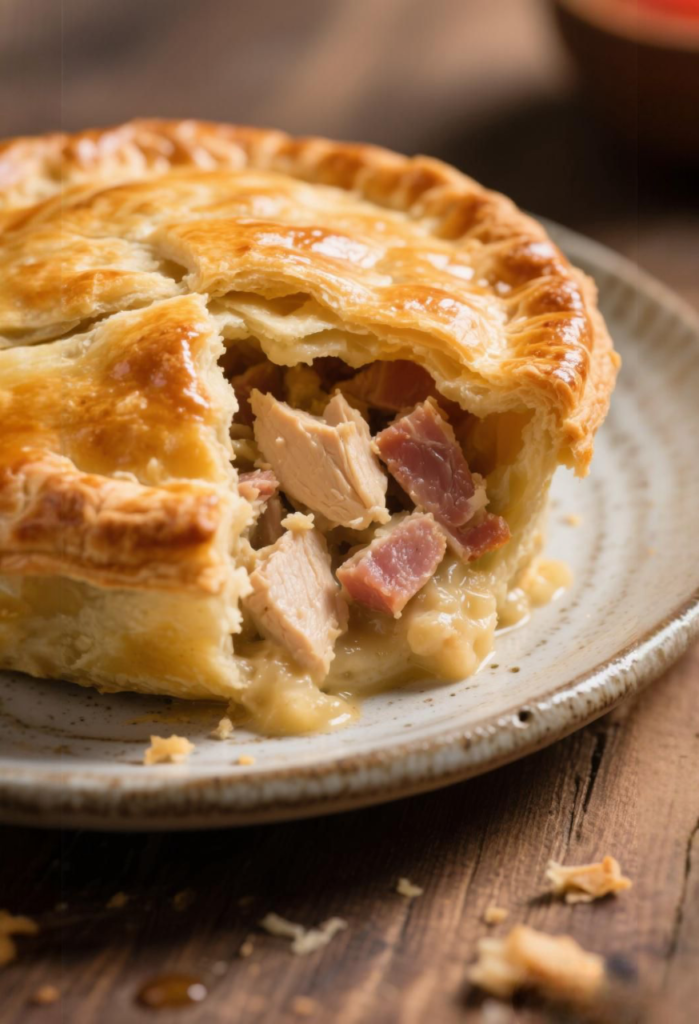
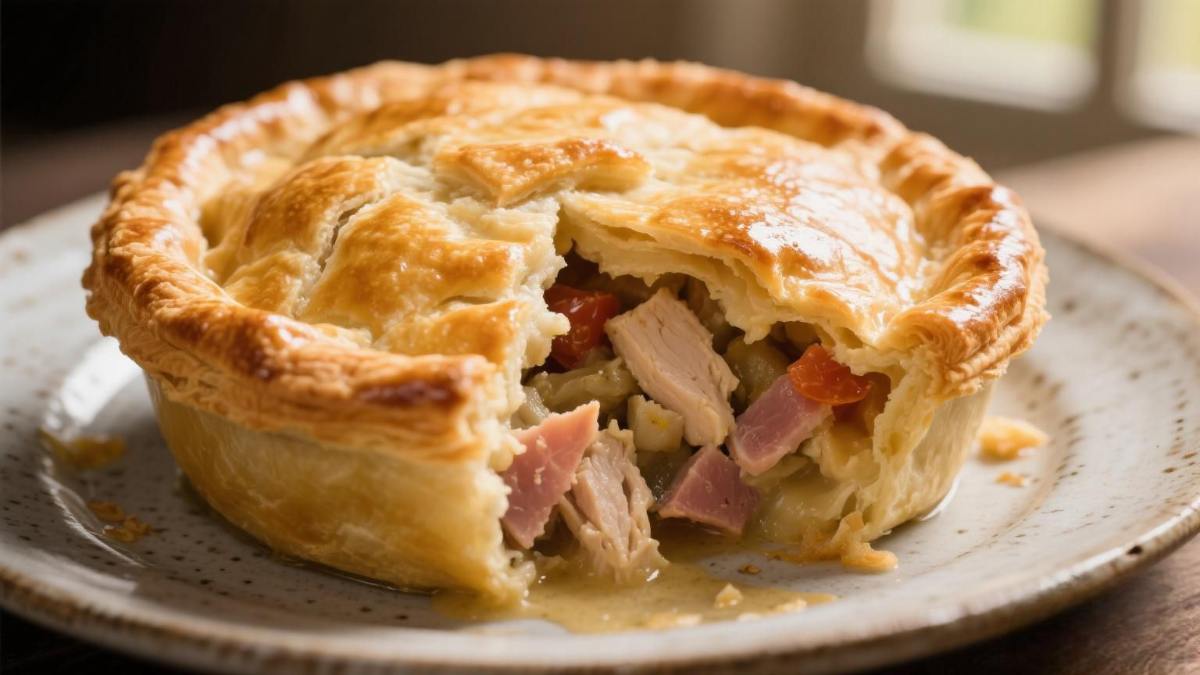
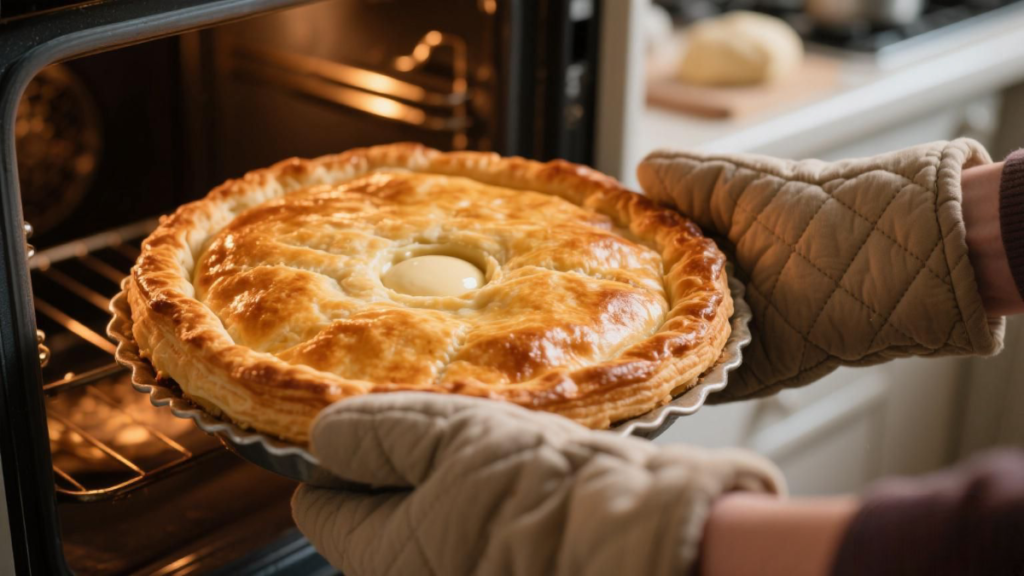
That first cut through the lid is the moment of truth. The golden, all-butter puff pastry shatters with a clean, crisp crack. Beneath it, a plume of fragrant steam escapes, carrying the scent of tarragon and white wine. You reveal a filling that is piping hot, creamy, and absolutely packed with generous chunks of tender chicken and savoury smoked ham.
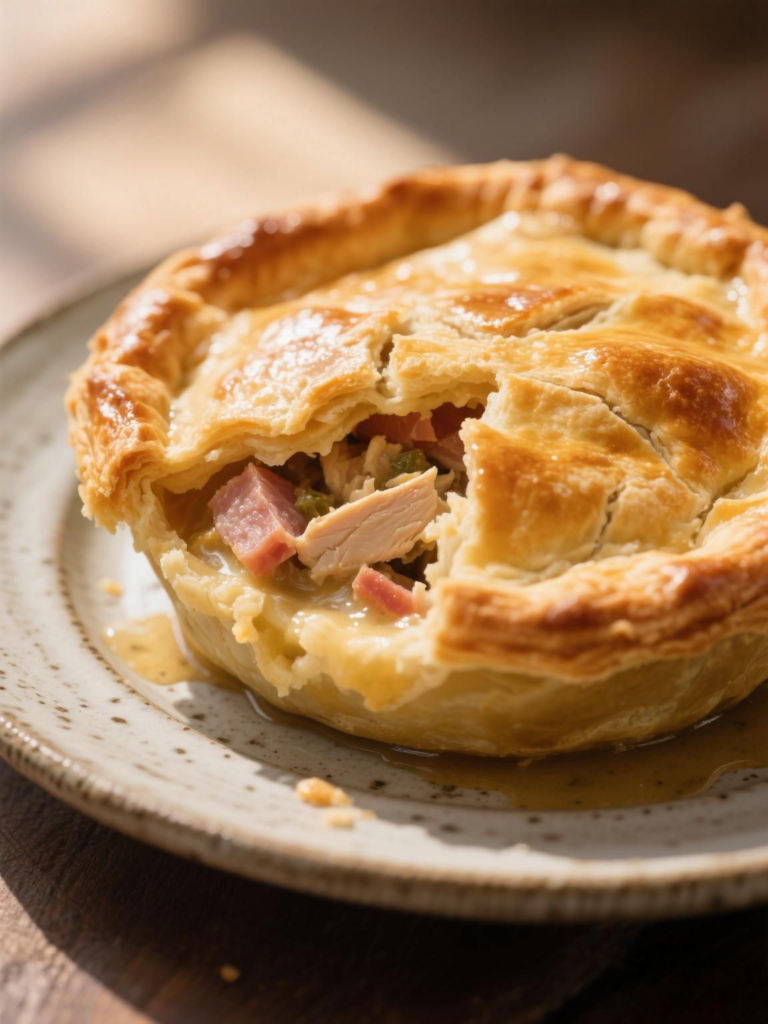
This is Mary Berry’s ultimate Sunday lunch chicken pie. It is not just a pie; it is a centrepiece. Mary’s philosophy is simple: a proper pie should be generous, comforting, and technically perfect. The filling must be deeply savoury and rich, never thin or watery. The lid must be crisp and fully cooked, with absolutely no hint of a raw, doughy layer underneath. This version is foolproof because it relies on a fully cooked, bound filling and a simple, high-quality pastry lid, eliminating the risk of a soggy bottom entirely.
The Science Behind Mary’s Aga Method (and How to Mimic It)
Understanding your oven is the secret to a perfect bake. An Aga uses radiant heat, meaning the heat comes from the cast-iron sides of the oven, creating a gentle, all-encompassing warmth. A conventional fan oven uses convected heat, circulating hot air rapidly.
- The Aga Advantage: The Roasting Oven (hot) gives the pastry an instant blast of heat for rapid rise and colour, while the Baking Oven (moderate) finishes cooking the filling gently without burning the lid.
- The Conventional Conversion: To replicate this, you preheat your oven to a higher temperature (200°C fan) to mimic that initial blast, then rely on the even heat of the fan to carry it through. The key is to put the pie on a preheated baking sheet in the bottom of the oven. This gives the base an extra shot of radiant heat, crucial for crisping the underside of the pastry.
- Why This Filling Works: The filling is a classic velouté-style sauce. We create a roux (butter and flour), add liquid (milk and stock), and simmer until it thickens. The starch molecules in the flour swell and trap the liquid, creating a luscious, stable emulsion that won’t split or become watery during its final bake in the oven.
Ingredients
Don’t skimp on the quality here; it makes all the difference.
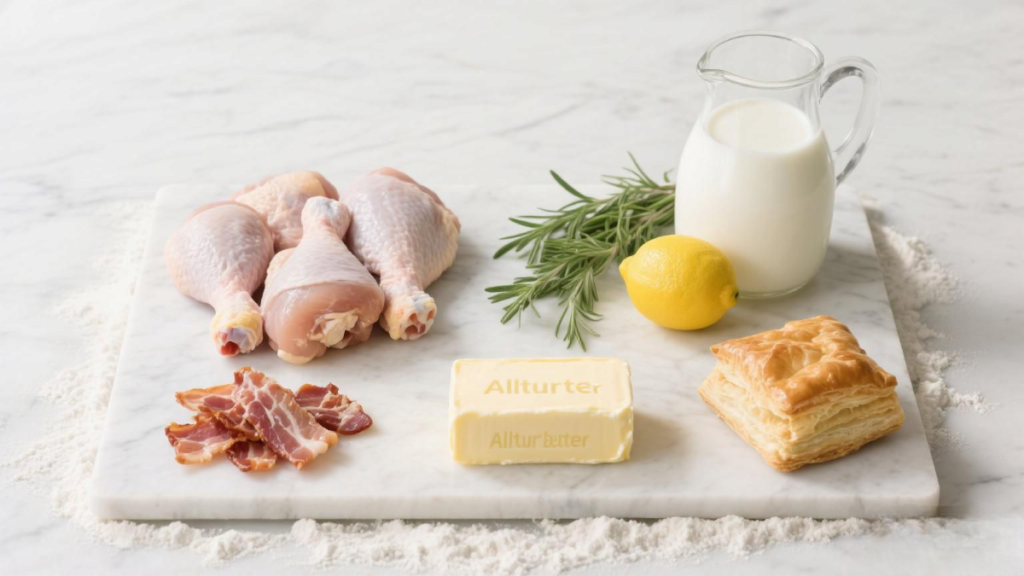
- For the Filling:
- 900g (2 lbs) boneless, skinless chicken thighs. Mary uses thighs here; they have more fat and flavour, staying succulent during the initial poach.
- 225g (8 oz) smoked bacon lardons or a thick-cut smoked ham steak, diced into 1cm cubes.
- 1 large onion, finely chopped (approx. 150g).
- 75g (5 ½ tbsp) unsalted butter.
- 75g (½ cup + 1 tbsp) plain flour.
- 450ml (1 ¾ cups + 2 tbsp) full-fat milk. It must be full-fat for the correct richness and creamy texture.
- 300ml (1 ¼ cups) good-quality chicken stock.
- 2 tbsp chopped fresh tarragon.
- 3 tbsp lemon juice.
- Salt and freshly ground black pepper.
- For the Top:
- 500g (1.1 lb) block of all-butter puff pastry. Buy the best you can find; the flavour is incomparable.
- 1 medium egg, beaten, for glazing.
Step-by-Step Method (The Masterclass)
Step 1: Prepare the Chicken
Place the chicken thighs in a single layer in a large frying pan or sauté pan. Pour over just enough water to cover them. Bring to a gentle simmer, then cover and poach for 15-20 minutes, until the chicken is just cooked through and firm to the touch. Lift the chicken out onto a plate to cool, reserving 300ml (1 ¼ cups) of the poaching liquid to use as your stock. Once cool enough to handle, shred or chop the chicken into generous, bite-sized pieces.
Step 2: Build the Savoury Base
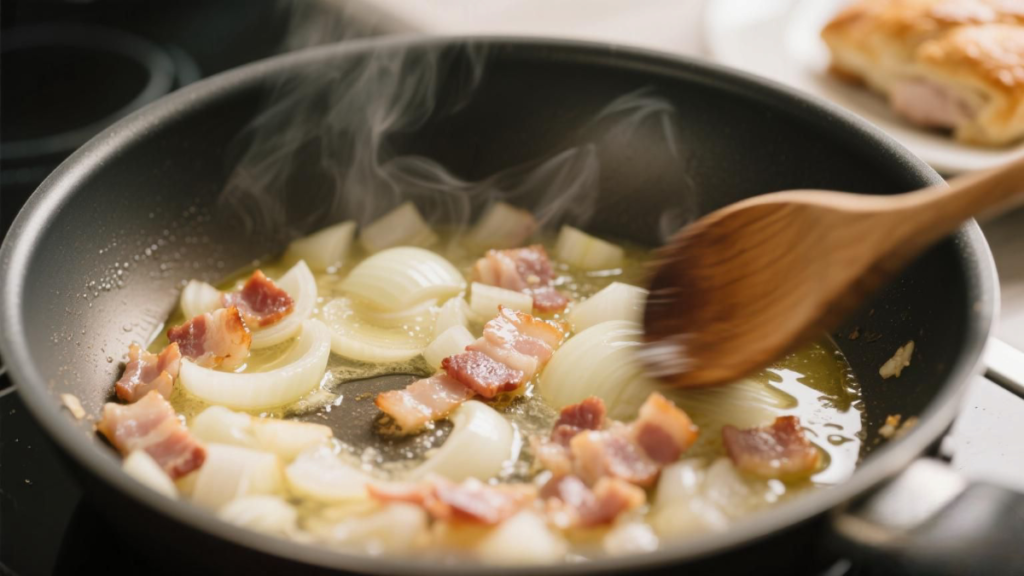
In a large, heavy-based saucepan, melt the butter over medium heat. Add the chopped onion and sauté gently for 5-7 minutes until softened and translucent but not coloured. Add the bacon lardons and cook for a further 4-5 minutes until they start to release their fat and colour slightly.
Step 3: Create the Velouté Sauce
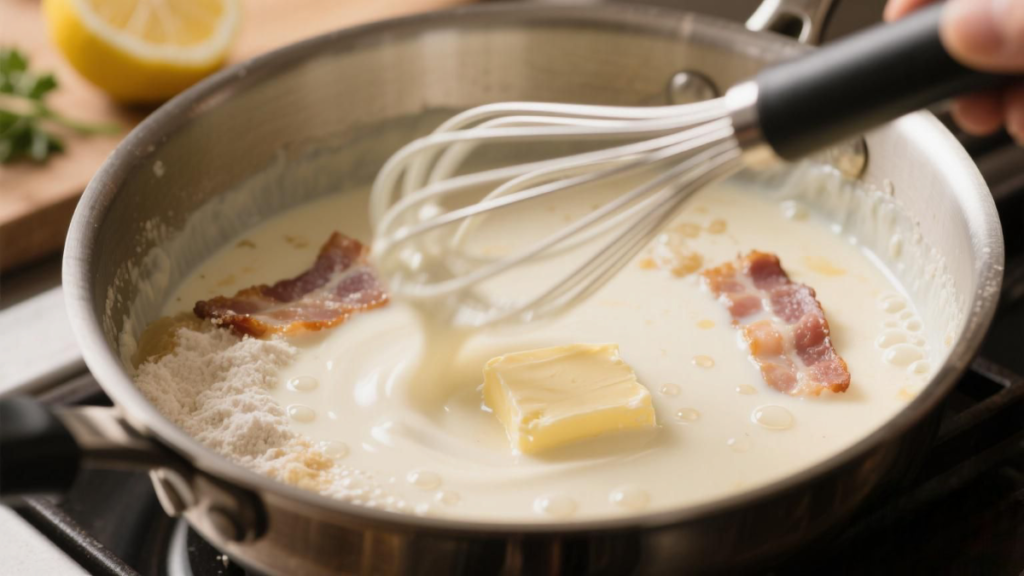
Stir the flour into the pan with the onions and bacon. Cook, stirring constantly, for 1-2 minutes. This cooks out the raw flour taste. Take the pan off the heat and gradually whisk in the milk until you have a smooth paste, then whisk in the reserved poaching liquid (your stock) and the measured chicken stock. Return the pan to the heat and bring to a gentle boil, whisking continuously. As it heats, the sauce will thicken to a smooth, glossy coating consistency. Season with salt and plenty of black pepper.
Step 4: The Final Filling
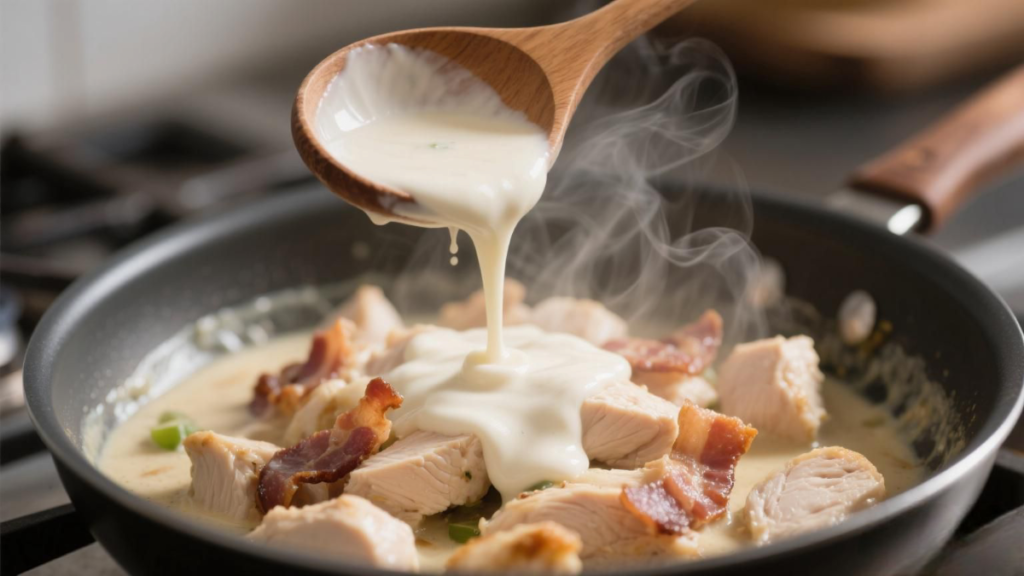
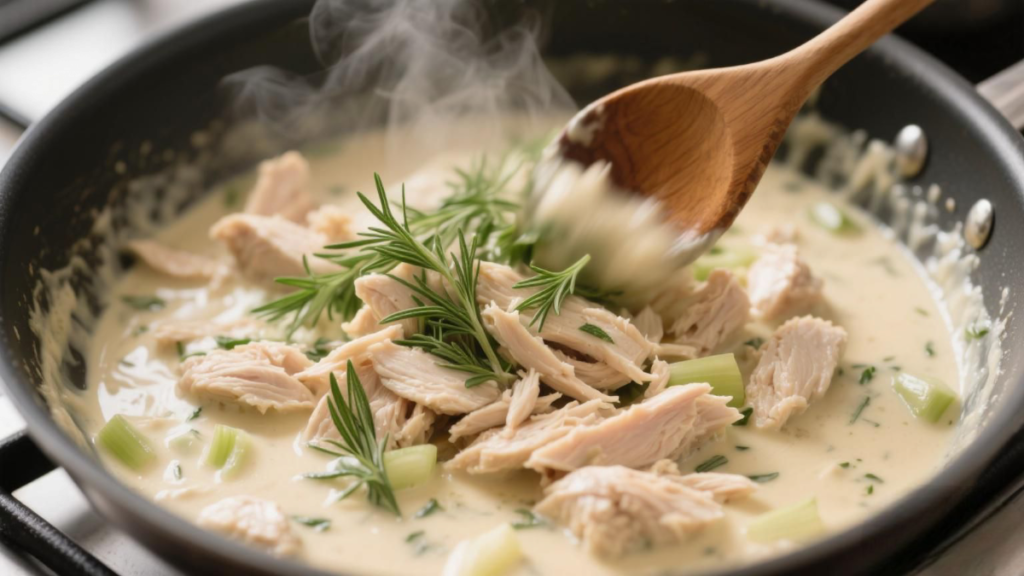
Once the sauce is thick and bubbling, remove it from the heat. Stir through the chopped tarragon, lemon juice, and the cooked chicken pieces. Taste and adjust the seasoning. Pour the filling into your pie dish (approx. 2 litre/3.5 pint capacity). Cover the surface directly with cling film to prevent a skin from forming and leave to cool completely. This is a vital step; a hot filling will melt the butter in the pastry and make it soggy before it even goes in the oven.
Step 5: Lid and Glaze
Preheat your oven to 200°C (400°F) . Place a heavy baking sheet on the shelf below the centre to preheat as well. On a lightly floured surface, roll out the puff pastry to about 3mm thick, until it is about 4cm larger than your pie dish all the way around. Cut a 2cm wide strip from the outer edge of the pastry. Brush the rim of the cold pie dish with a little water and press the pastry strip onto it. Brush the strip with beaten egg. Now, lift the remaining pastry lid over the filling. Press the edges firmly to seal, then crimp with a fork or your fingers for a decorative finish. Use a sharp knife to make a small steam hole in the centre. Brush the entire lid with the beaten egg, being careful not to let it drip down the sides and glue the pastry to the dish.
Step 6: The Golden Bake
Place the pie dish onto the preheated baking sheet in the oven. Bake for 25-30 minutes, or until the pastry is deeply golden brown, crisp, and has puffed up magnificently. You should see the filling bubbling up through the steam hole, a sure sign it’s piping hot all the way through. Serve immediately.

Troubleshooting: Avoiding the “Soggy Bottom”
This recipe is designed to prevent it, but here’s how to ensure perfection.
- Why is my pie filling watery? The culprit is almost always the ragu reduction, or in this case, the sauce consistency. If your sauce is thin before baking, it will be watery after. Ensure your sauce is thick enough to coat the back of a spoon before cooling. The cooling process also helps it firm up further.
- Why are the edges of my pastry lid hard? This happens if the pastry overhangs the dish without any filling to support it, or if it’s not sealed properly. By using the pastry strip on the rim, you create a raised edge for the lid to sit on, preventing it from slumping and burning on the dish’s edge.
- Why is the pastry soft on the underside? This is the classic soggy bottom. You avoided it by cooling the filling completely, so no steam condensed and softened the inner pastry layers. You also used the preheated baking sheet, which gave the base an initial blast of heat to cook it through.
H2: Storage & Freezing
- Storage: Cool any leftover pie completely. Cover the dish with cling film or transfer portions to an airtight container and refrigerate. It will keep for up to 2 days. To reheat, place in a moderate oven (180°C fan) until the filling is piping hot and the pastry crisps up again.
- Freezing: For the best texture, freeze the pie uncooked. Assemble the pie completely in a freezer-safe dish but do not glaze with egg. Wrap the entire dish tightly in a layer of cling film, then a layer of foil. Freeze for up to 3 months. To cook from frozen, glaze with beaten egg and bake at 200°C for 45-55 minutes, covering the top loosely with foil if it browns too quickly. You can also freeze the cooled filling on its own in a sealed container.